
Vanilla pudding should be silky-smooth with rich, genuine flavor, but many home cooks encounter disappointing results. The issues often stem from three key areas: ingredient selection, cooking technique, and temperature control. Store-bought vanilla extract can’t match the depth of real beans, while hurried whisking leads to lumps that ruin the texture. Even experienced bakers sometimes miss these subtle details that separate mediocre pudding from a memorable dessert. The solutions are simpler than most people realize.
Classic Stovetop Method
The classic stovetop vanilla pudding recipe is a timeless dessert that brings warmth and comfort to any table. This method relies on the perfect balance of simple ingredients and careful technique to create a silky-smooth pudding with rich vanilla flavor. Unlike instant varieties, homemade stovetop pudding develops complex flavors as it cooks and achieves an incomparable texture that delights the palate. This recipe, which originates from Mennonites in Montgomery, Indiana, carries with it a rich heritage of traditional cooking.
Making vanilla pudding from scratch on the stovetop allows you complete control over sweetness and consistency, ensuring a superior result to store-bought alternatives. The key to success lies in attentive whisking and proper temperature control, which prevents lumps and scorching while promoting even thickening. This traditional cooking method has stood the test of time because it consistently produces a dessert with depth of flavor and luxurious mouthfeel that simply can’t be matched by shortcuts. Much like how flavor perception changes at high altitudes on airplanes, the environment in which you enjoy your pudding can affect how sweet it tastes.
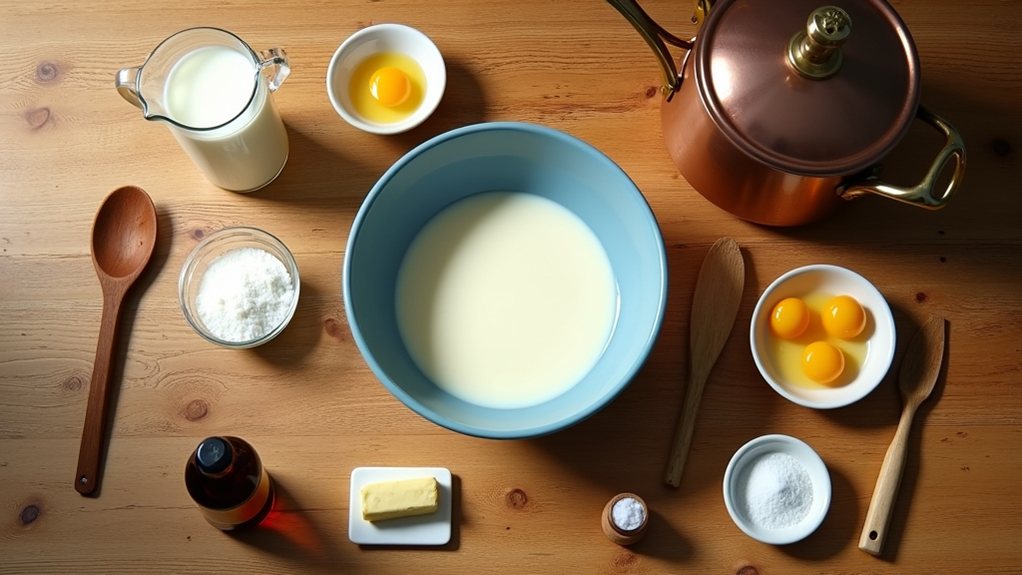
- 2½ cups whole milk
- ½ cup granulated sugar
- ¼ cup cornstarch
- ¼ teaspoon salt
- 4 large egg yolks, lightly beaten
- 2 tablespoons unsalted butter
- 2 teaspoons pure vanilla extract
In a medium saucepan, whisk together sugar, cornstarch, and salt until combined, then gradually whisk in the milk until smooth. Set over medium heat and cook, whisking constantly, until the mixture begins to thicken and bubble, about 5-7 minutes.
In a separate bowl, temper the egg yolks by slowly whisking in about ½ cup of the hot milk mixture, then pour the tempered egg mixture back into the saucepan, continuing to whisk constantly. Return to medium heat and cook for another 2-3 minutes until the pudding becomes thick and coats the back of a spoon.
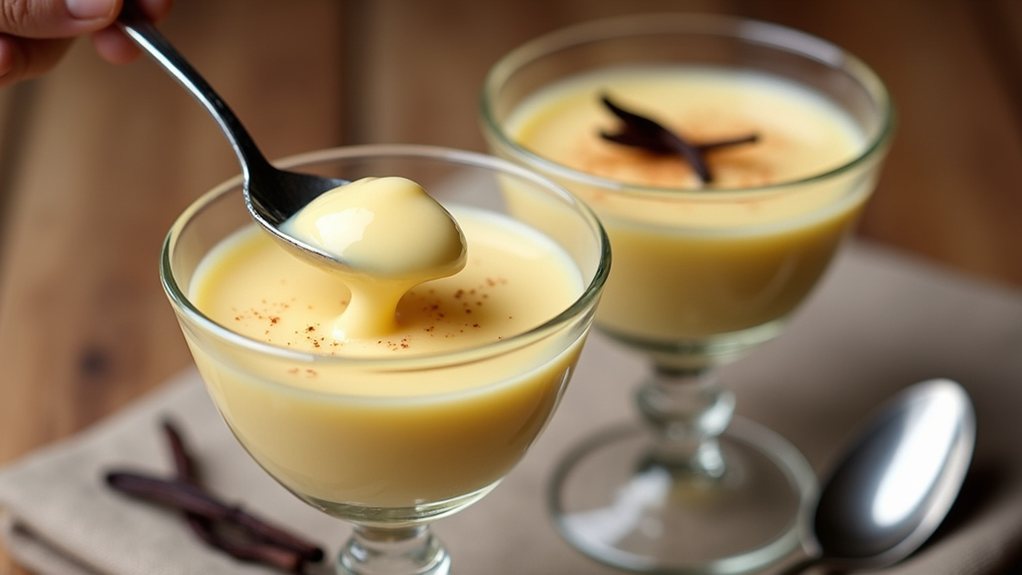
Remove from heat, whisk in butter and vanilla extract until fully incorporated. For an ultra-smooth result, strain through a fine-mesh sieve into a bowl, then cover with plastic wrap directly on the surface of the pudding to prevent skin formation. Refrigerate for at least 2 hours before serving.
For the best results, pay close attention to temperature control throughout the cooking process. Using whole milk creates the richest texture, but you can substitute 2% milk if preferred, though the pudding may be slightly less decadent.
When tempering the egg yolks, add the hot mixture very slowly while whisking vigorously to prevent scrambling. If you notice any lumps forming while cooking, whisk more aggressively or use an immersion blender for a quick fix.
This pudding can be served warm for a comforting treat or thoroughly chilled for a more set consistency, and it will keep in the refrigerator for up to 3 days when properly stored.
Bean Quality Matters
When selecting vanilla beans for pudding recipes, quality differences can dramatically transform the final dessert from ordinary to extraordinary. Grade A beans, with their higher moisture content, release more intense flavor compounds during cooking than the drier Grade B alternatives.
The origin of your bean matters too. Madagascar Bourbon beans impart rich, smooth flavors ideal for classic puddings, while Tahitian beans contribute a fruity, floral dimension that enhances contemporary variations. Remember that vanilla is one of the most labor-intensive crops in the world, making quality beans worth their premium price. Like premium Wagyu beef, the origin and production methods significantly impact the quality and flavor profile of vanilla beans.
For best results, store beans in airtight containers in a cool, dark place to maintain their aromatic properties.
To optimize flavor extraction, heat the bean gently in your milk or cream before adding other ingredients. Split the pod lengthwise and scrape out the tiny seeds—these specks not only intensify flavor but also provide visual evidence of authentic vanilla in your pudding.
Straining Prevents Lumps
Beyond selecting quality vanilla beans, perfect pudding requires impeccable texture. Even experienced cooks encounter the occasional lump when making pudding from scratch. These unwelcome intruders form when starch clumps, eggs scramble, or heat distributes unevenly.
The solution? A fine-mesh strainer. After cooking your pudding, pour it through this simple tool to catch any solid particles. Hot molecules move more actively than cold ones, making straining most effective while the pudding is freshly cooked. This extra step guarantees a silky-smooth result that melts in your mouth rather than creating unpleasant surprises.
For best results, strain your pudding while it’s still hot, then immediately cover with plastic wrap touching the surface. This prevents skin formation while cooling.
Remember to add any finishing ingredients like butter or vanilla extract after straining to preserve their delicate flavors and guarantee they incorporate evenly. This technique is similar to how bartenders ensure classic martinis remain silky smooth when mixing premium ingredients.